
Thank you for visiting Bartle & Gibson. If you encounter any issues or have feedback to share, please email us at [email protected]. Your input is greatly appreciated!
MASTERS ABS4L-1 ABS-PRO MEDIUM YELLOW CEMENT 3.78L
Product Details
Attributes
Features
Resources
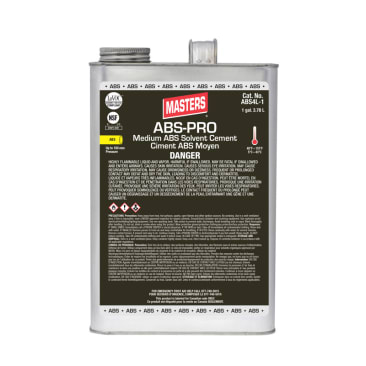
MASTERS®, ABS4L-1, Cement, Medium Body, 3.78 L Container, For Use With: On all schedules and classes of ABS pipe and fittings up to 6 in dia with interference fit, Yellow, Solvent Odor/Scent, Composition: Styrene/Butadiene/Acrylonitrile Copolymer/Methyl Ethyl Ketone/Cyclohexanone/Acetone, 5 to 6, 3 to 4, 1 to 2 min Setting, 40 to 110 deg F
- Cut pipe ends square chamfer and clean pipe ends
- Check dry fit of pipe and fitting. Pipe should easily go 1/3 of the way into the fitting. If pipe bottoms it should be snug
- Use a suitable applicator at least 1/2 the size of the pipe diameter
- Clean and prepare pipe and fitting with a listed Cleaner or Primer where local code requires
- Apply a liberal coat of cement to pipe approximately the depth of the socket. Leave no uncoated surface
- Apply a coat of cement to the inside of the fitting avoid pooling or puddling of cement
- Apply a second coat of cement to the pipe
- Assemble parts quickly as cement must be in a fluid state when joining
- Push pipe fully into the fitting using a 1/4 turning motion until the pipe bottoms
- Hold pipe and fitting together for 30 seconds to prevent pipe push-out longer in lower temperatures
- Wipe off excess cement for a clean esthetic appearance
- Allow cement to fully cure before pressure testing. Longer cure times may be required at lower temperatures or for larger diameter piping
Product Details
MASTERS®, ABS4L-1, Cement, Medium Body, 3.78 L Container, For Use With: On all schedules and classes of ABS pipe and fittings up to 6 in dia with interference fit, Yellow, Solvent Odor/Scent, Composition: Styrene/Butadiene/Acrylonitrile Copolymer/Methyl Ethyl Ketone/Cyclohexanone/Acetone, 5 to 6, 3 to 4, 1 to 2 min Setting, 40 to 110 deg F
Attributes
Features
- Cut pipe ends square chamfer and clean pipe ends
- Check dry fit of pipe and fitting. Pipe should easily go 1/3 of the way into the fitting. If pipe bottoms it should be snug
- Use a suitable applicator at least 1/2 the size of the pipe diameter
- Clean and prepare pipe and fitting with a listed Cleaner or Primer where local code requires
- Apply a liberal coat of cement to pipe approximately the depth of the socket. Leave no uncoated surface
- Apply a coat of cement to the inside of the fitting avoid pooling or puddling of cement
- Apply a second coat of cement to the pipe
- Assemble parts quickly as cement must be in a fluid state when joining
- Push pipe fully into the fitting using a 1/4 turning motion until the pipe bottoms
- Hold pipe and fitting together for 30 seconds to prevent pipe push-out longer in lower temperatures
- Wipe off excess cement for a clean esthetic appearance
- Allow cement to fully cure before pressure testing. Longer cure times may be required at lower temperatures or for larger diameter piping